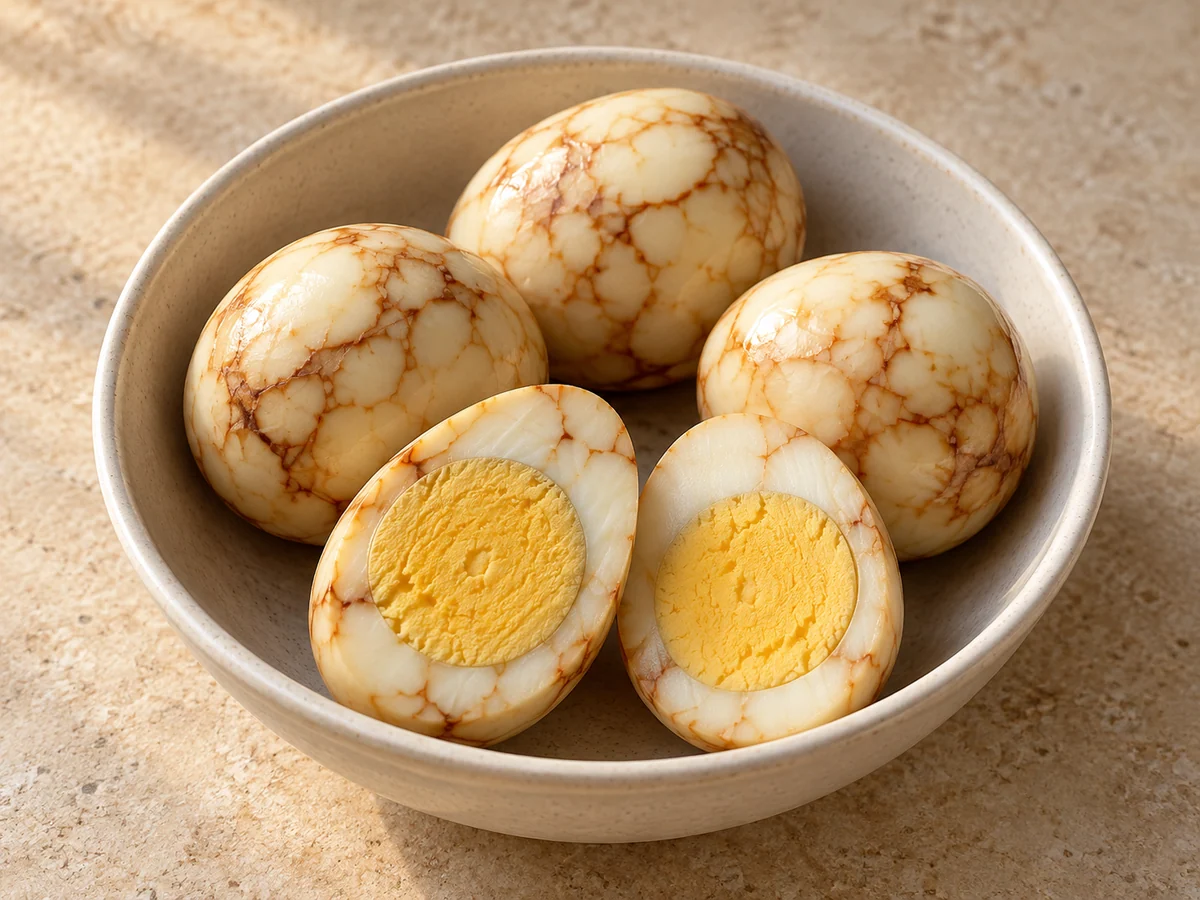
Tea eggs
Cook the eggs first, then crack the shells and simmer them in spiced tea.
Coat glutinous rice cakes in egg and pan-fry gently until soft inside and golden outside.
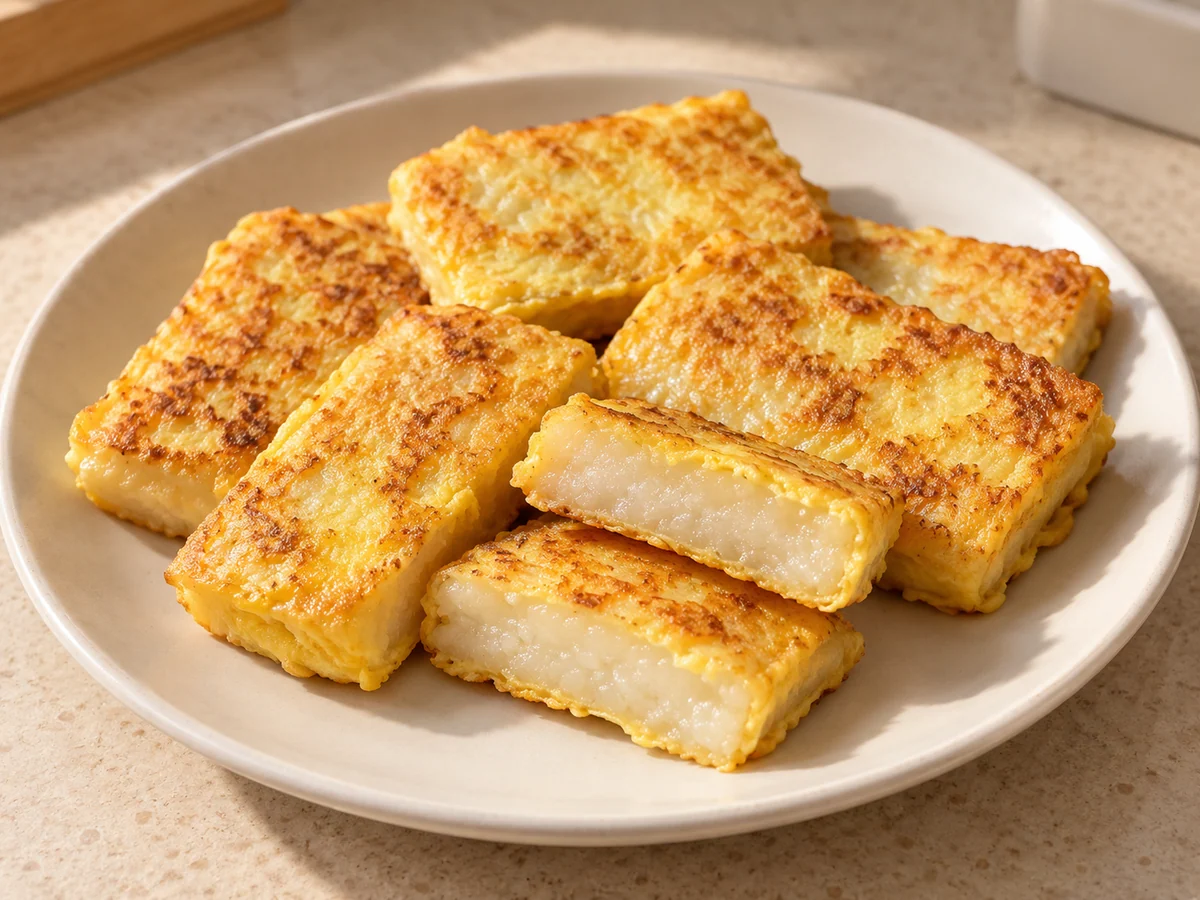
On a stable board, cut the rice cakes into small rectangles that are easy to turn. If too hard to cut safely, soften according to the package before cutting.
The pieces are similar in size and lie flat in the pan.
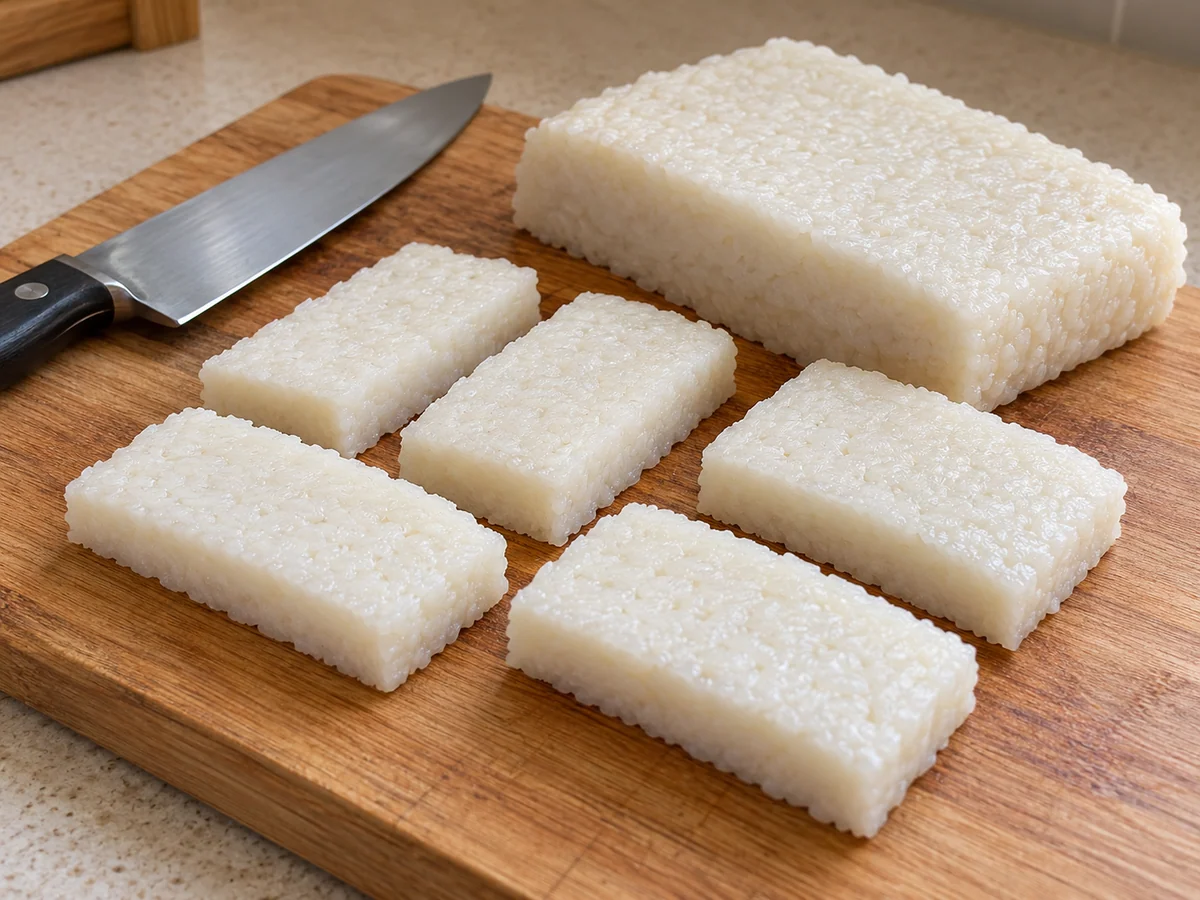 Knife work ↗
Beat the egg with the salt in a bowl. Coat both sides of every rice-cake piece. Wash your hands after handling raw egg.
Both sides of every piece have a thin egg coating.
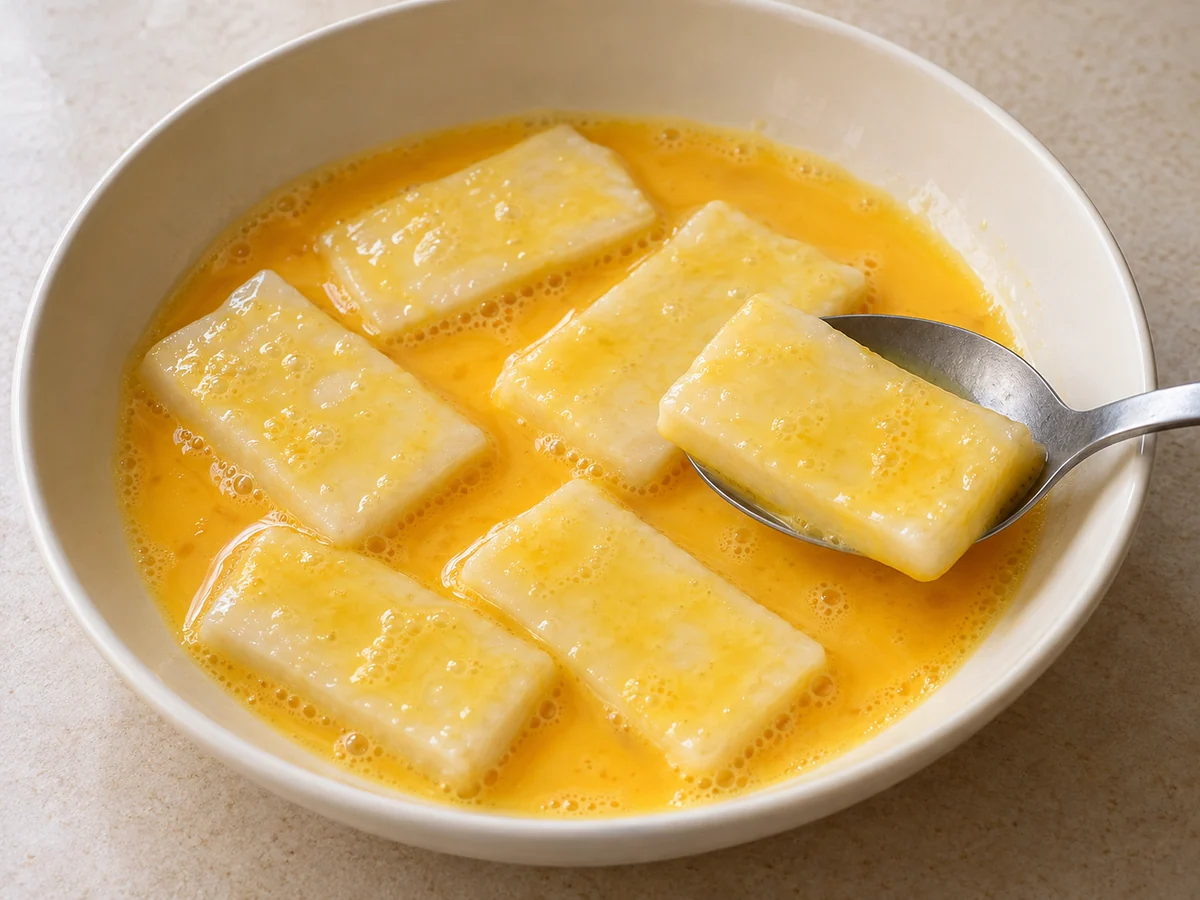 Mixing & beating ↗
Warm the oil in a frying pan over low heat. Add the pieces with space between them and cook gently until softened. Pour the remaining egg over the rice cakes.
The heat remains low and the egg sets without burning.
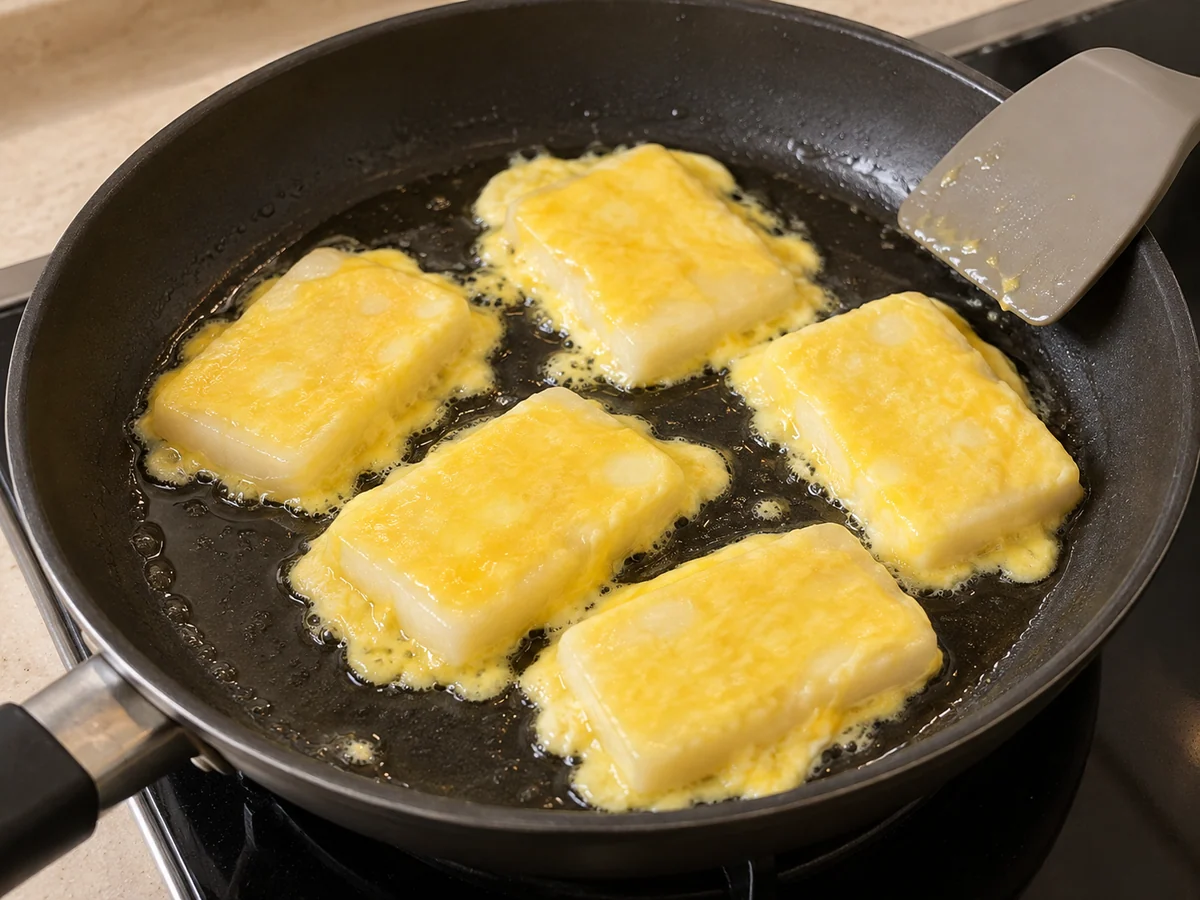 Pan-frying ↗
Turn each piece with a spatula. Continue until both sides are golden, the rice-cake centers are soft and hot, and no raw liquid egg remains.
The centers are soft and hot, both sides are golden, and the egg is fully set.
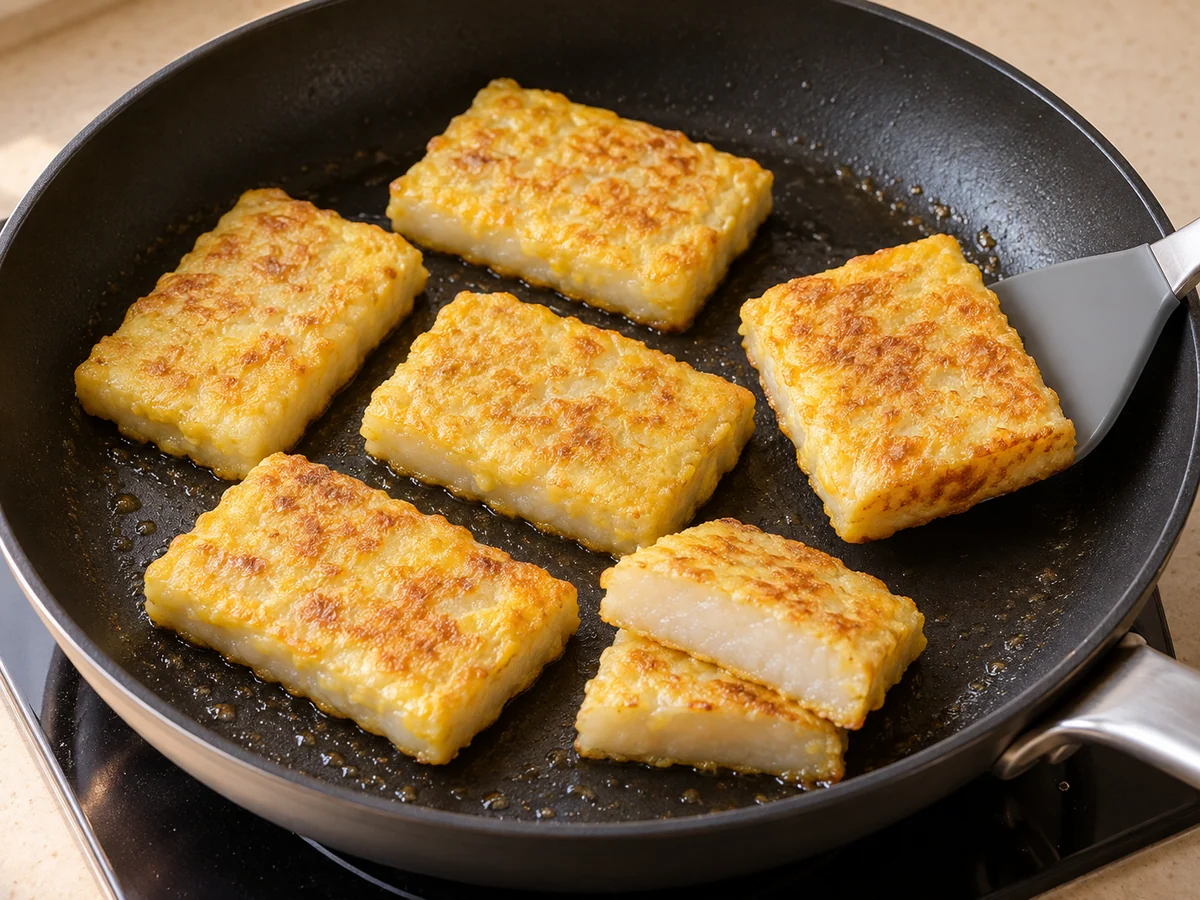 Pan-frying ↗
Turn off the heat and plate. Add a little of the optional brown sugar to taste. Let the hot centers cool slightly before eating.
The rice cakes are soft and the egg coating is fully cooked.
Seasoning ↗Adapted from HowToCook / 蛋煎糍粑 · HowToCook contributors / Anduin2017/HowToCook · Unlicense
Bilingual editorial adaptation. Independently content-reviewed; not kitchen-tested. Project-generated images illustrate this recipe and its steps, rather than a user’s cooking result. Timing is an estimate; check actual ingredients, labels and doneness.
Bring a little guidance along. Open EagerCook for the cooking experience.